 💻 Developer by day, 🎮 gamer by night | Software Engineer in @Taboola | ☕ sometimes coffee lover | A good player in call of duty | 📷 sometimes love photography
How to deploy github repositories with Travis CI?
Github is a nice solution which can be integrated with Travis CI to host website, building solutions/container etc. I am using the same solution to host my blogs using jekyll to host static file via github pages.
I assume, you have github public repo. I will be taking my github blog example to deploy my blog repository with Travis CI.
So, let’s begin with the following steps:
1. Add .travis.yml file in your github repo
We need to add travis build configuration configuration to generate the build, so add .travis.yml in your root directory. Below I am adding with my configuration:
language: ruby
cache: bundler
branches:
  only:
  - main
before_install:
- gem install bundler -v 2.0.1
script:
  - chmod +x ./script/cibuild
  - JEKYLL_ENV=production bundle exec jekyll build --destination site
deploy:
  repo: rajendraarora/blogs.github.io
  provider: pages
  local-dir: ./site
  target-branch: master
  email: [email protected]
  name: Deployment Bot
  skip-cleanup: false
  github-token: $GITHUB_TOKEN
  keep-history: true
  on:
    branch: master
2. Get your Github Token
. Go to this page and generate your token and keep it safe.
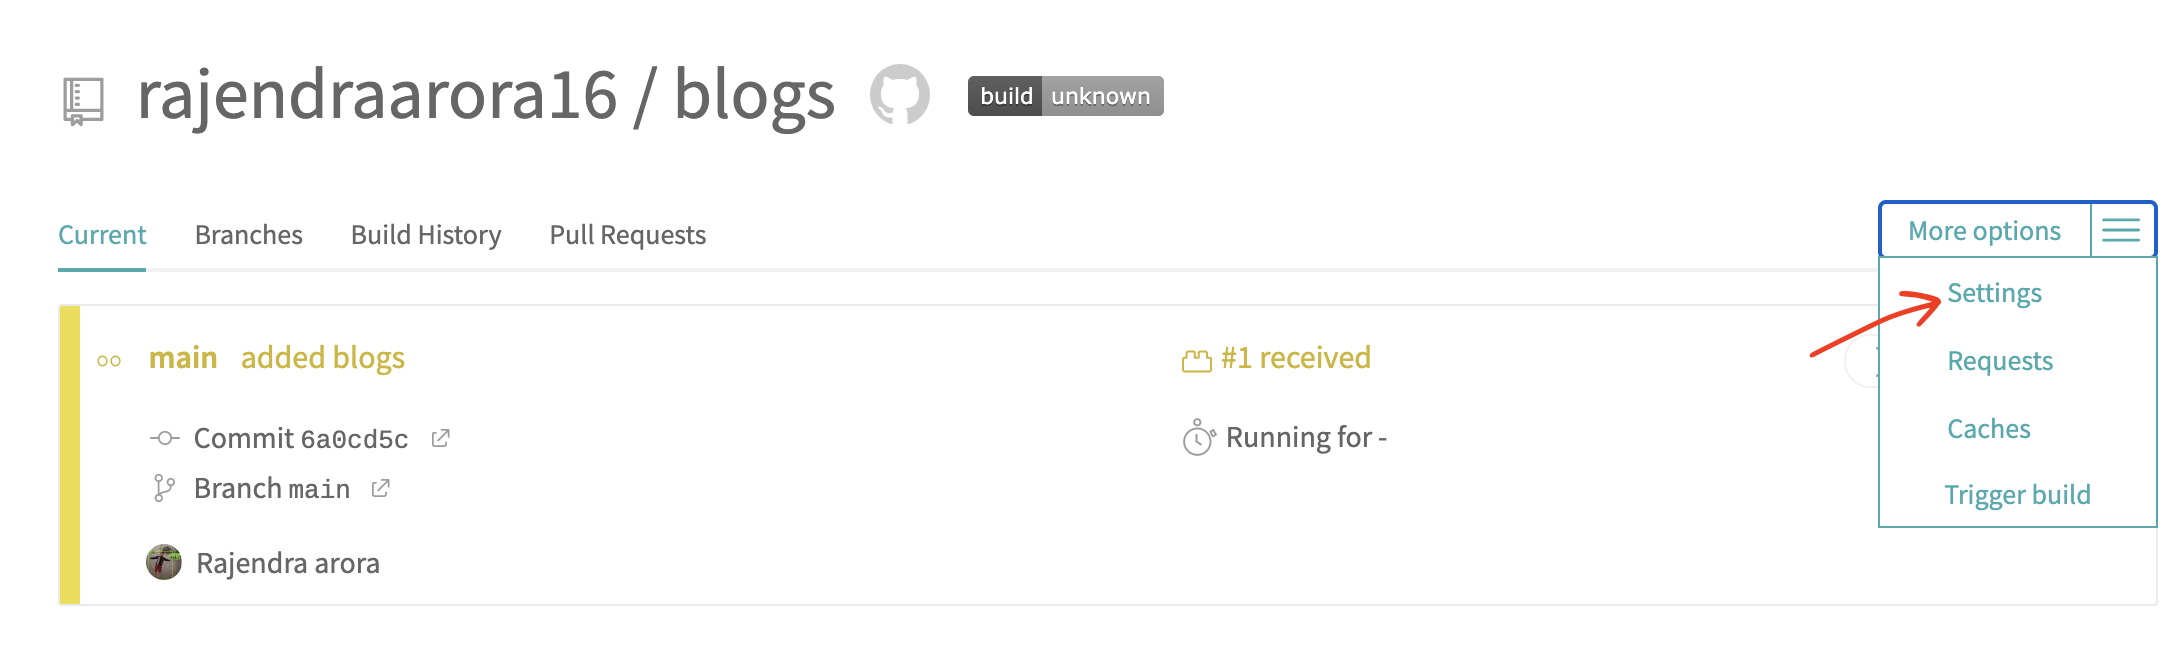
. Add your GITHUB_TOKEN environment below via go to setting options:
. Add your token below:

3. Trigger your Build
. Go to trigger setting options

. Select trigger button
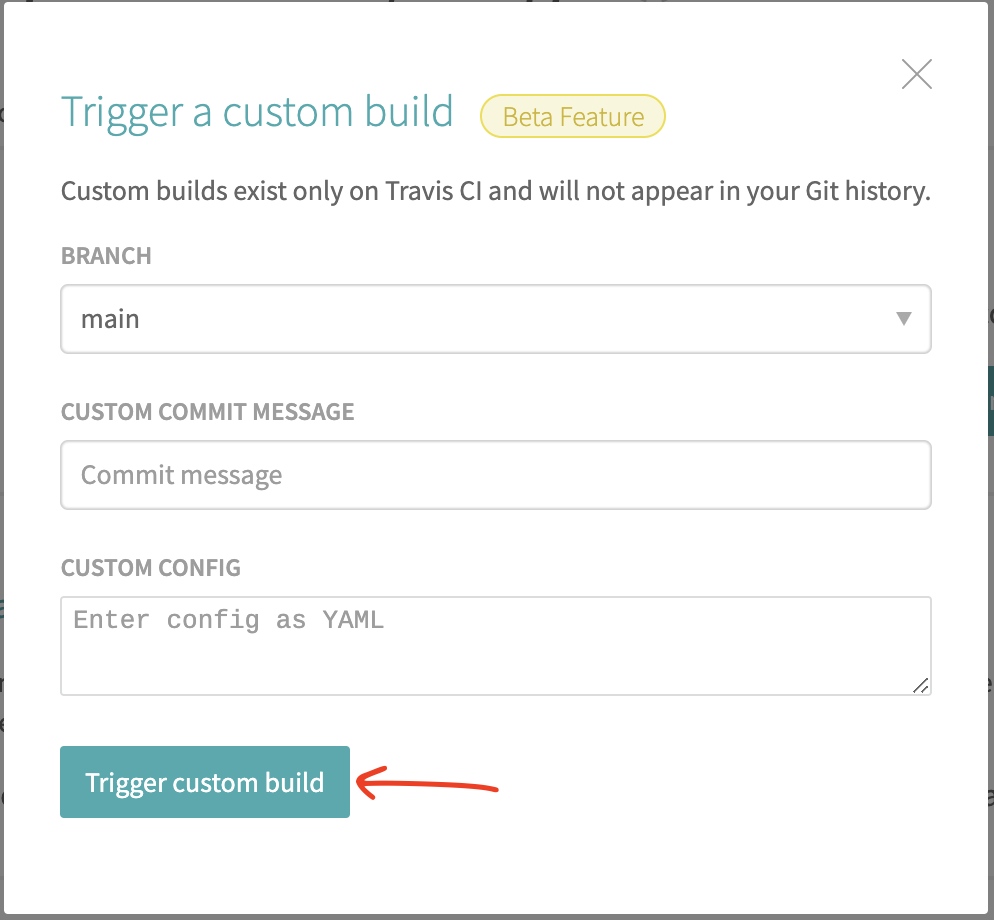
That’s it.. yay!
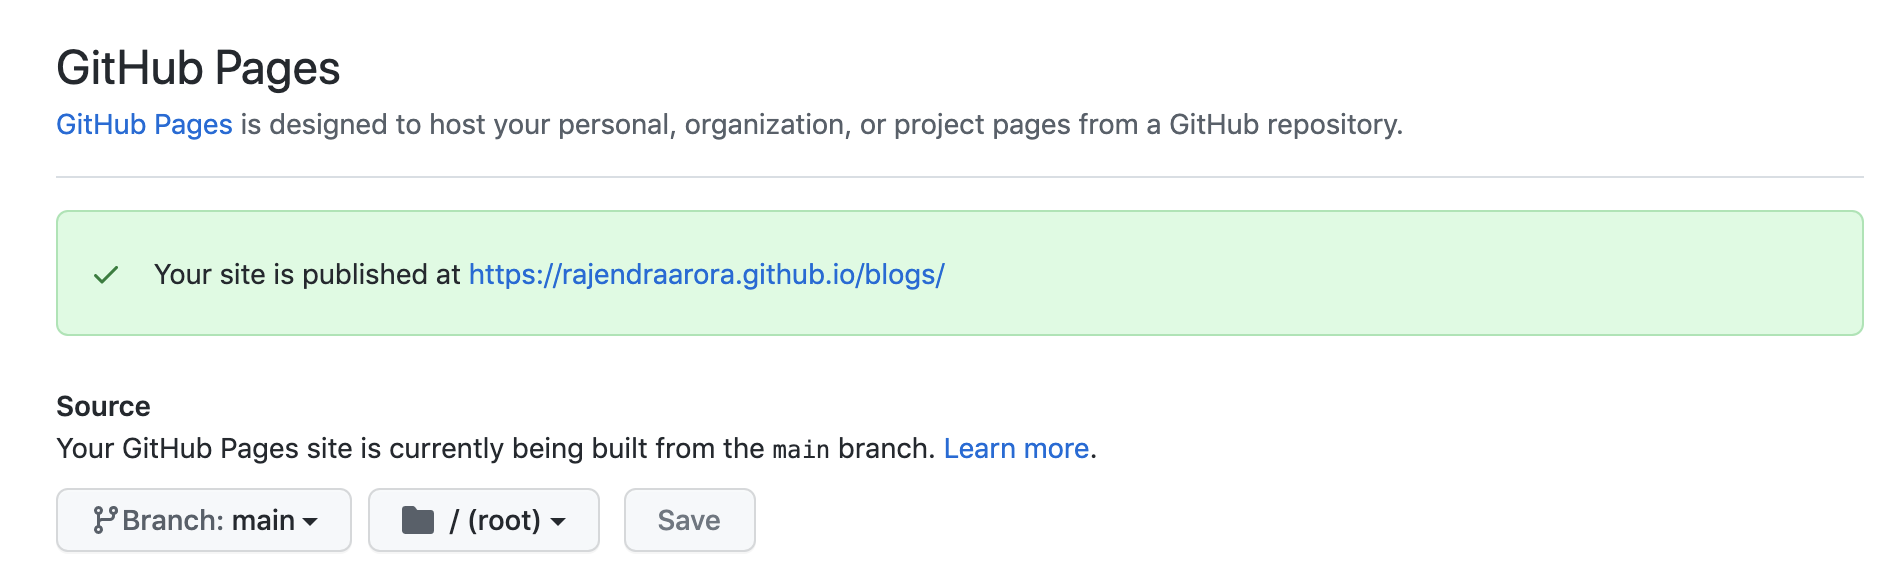
4. Publish your github pages
. Go to github pages tab and publish it!
Feel free to write your comments for any issues or reach out to me directly at contact[dot]rajendraarora[at]gmail.com.